
Processing Meat Birds and Canning with Reusable Lids

We finally finished processing our latest batch of forty meat birds a few weeks ago.I am always so thankful to have homegrown meat when we’ve gone without for a period of months. I think we ran out of our last steer towards the beginning of 2019 and our last round of canned and frozen meat birds probably dried up right around that same time. So, besides a wild hog here and there, it’s been a good six months at least since we’ve had a regular supply of homegrown meat.
We did things slightly different this time so I thought I’d share a few of the details. We try to do things with as little output in resources as we can (i.e. frugally), without compromising too much on the health of the animal. The first way that we do this is to acquire the chicks through our local stores when they are clearing out the chicks. So instead of $2 – $2.50/chick we usually end up spending half of that or less. That is already a huge savings.
Feed
In terms of feeding them, we ended up purchasing organic feed for them for about the first ten weeks. I knew I wasn’t up for the daily grinding of local grain that we’ve done in the past so we decided to use the organic feed for the first part of their growth period. This feed we used pretty sparingly and probably fed them half of what we could have. To supplement for the other half, we soaked all of their feed in at least equal amounts of skimmed milk (from Mabel) and they also hunt for bugs and eat greens and weeds in their little pasture.
Slaughtering & Butchering
Previously we had been doing the old-fashioned chopping block method for dispatching the chickens. With a sharp ax this is a humane means of doing the job, but it left a lot to be desired in other areas. So we decided to begin using the cone restraint method with a very sharp knife.
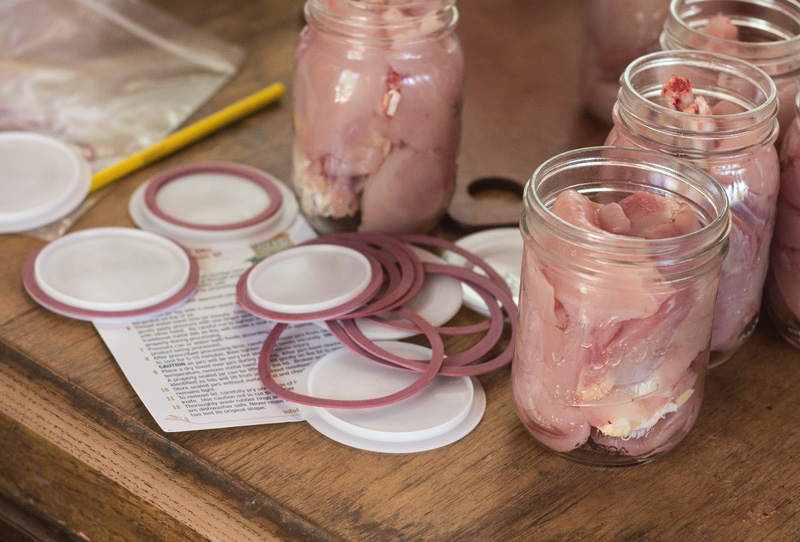
Stewart began the process, taught Elijah and Abram (13 & 11, respectively) how to kill and eviscerate, and by the end of the few weeks we took to process them, they were doing the job like they’d known it all their lives. My role in this process is usually to pluck (if we don’t just skin them). Because we weren’t able to freeze the birds this year, we decided to skip plucking and go straight to canning.
Processing
Last year we had a solar freezer up and running and ended up freezing quite a few of them as whole roasters. They were delicious. This year, however, our solar system was having some issues so freezing was out of the question. So to the canner they were headed.
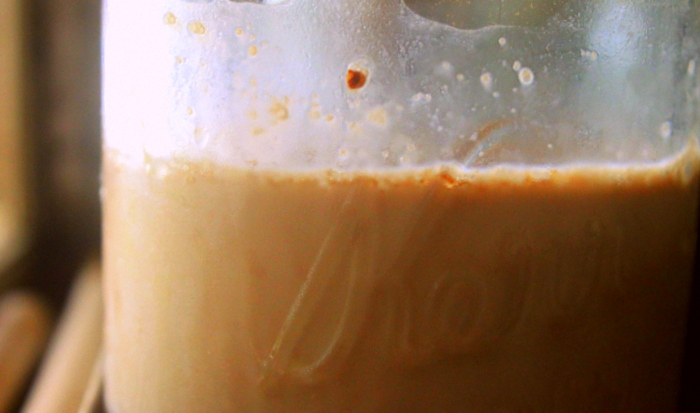
My favorite way to do this is to can all of the white meat, which is really easy to cut from the bone. I then pack legs and thighs, bones and all, into separate jars. Finally, I simmer broth all day and then do one last round of canning in the evening. I have found that with one canner, five birds per day is just about right. With two canners, I can handle 7-10 birds in a day without any refrigeration.
Reusable Canning Lids
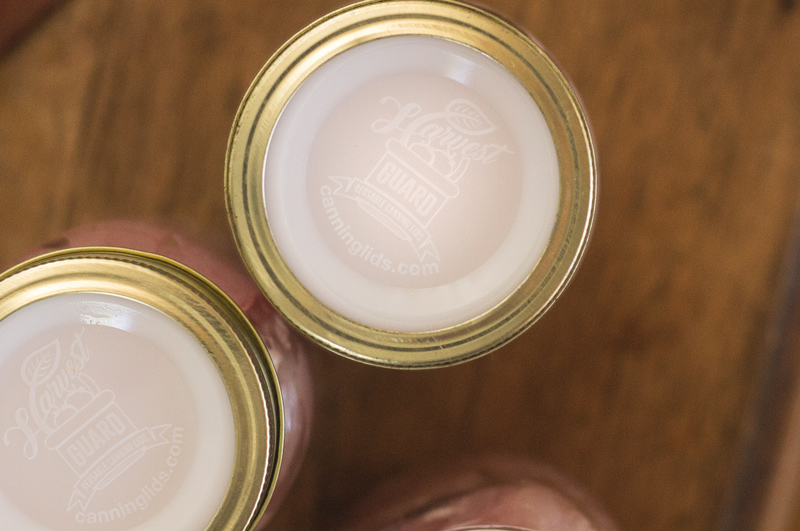
The other thing this time around that was different is the use of reusable canning lids. I had long been interested in these guys but had heard mixed reports about how well they worked, etc. They are also more of an investment, albeit a good one, to purchase them upfront.
When Harvest Guard Canning Lids asked if I’d be interested in trying their lids out, I said sure! With a little bit of trepidation I decided to give them their first test run on the pints of meat I was canning. I processed them according to these instructions for canning chicken and they all sealed! There are a few different things you have to keep in mind when canning using these lids and you can find it all here. These frequently asked questions will give you some extra tidbits.
Once the meat and broth were canned, we stored some in the root cellar and some in our kitchen for quick meals. A skillet full of sweet potatoes and a jar of chicken makes a family favorite hash in little to no time. We are really thankful for what looks to be the beginning of restocking our meat supply.
The folks at Harvest Guard are offering 5% off your purchase with the code “nourishingdays”, if you’d like to give them a try.
I have all your books and love them! Any books you can reccomend about canning meats? I want to save on our freezer space. Thank you so much, many blessings.
Brooke – Aww thank you for your kind words about our books and for supporting my work! I actually do not own a single book solely dedicated to canning. The wonderful world of the internet has always been my go-to resource, especially the National Center for Home Food Preservation. I’d be glad to hear of any other recommendations for a canning book, though.
It’s so good to read about how you do this frugally and off the grid – thank you for posting this! I’ve reused standard lids with water bath canning, and wondered about pressure canning, so it’s good to know there are ways to reduce waste and cost in the process. Do you use a standard heat lamp for brooding the chicks when they’re young? Or do start them off a different way?
Kate – We do not use a lamp for brooding. We get the chicks when they are a few weeks old from our local feed store. At that point they are trying to clear them out so we can get them for anywhere from $.50 to $1.50/each. They are big enough at this point to not need a heat lamp, but perhaps only because we start them during the warm part of the year. I haven’t yet tried to hook a heat lamp up to our solar so I wonder how that would work…
Great educational post.
I am getting settled on my new much smaller homestead after my husband’s passing. I doubt I will be doing much this year of my own but garlic will get put in for next year and also a garden.
Terry – Wow, what a task to be doing this on your own! May the Lord comfort you after the passing of your husband.
Thanks for your thoughts on the reusable lids; I’ve always wondered whether they’re as good. I hope you’ll do an update later on whether they stay sealed!
Dianna – I never even thought of the “staying sealed” question. Thanks for that! I will see how it goes and try to keep you all updated!