
Preserving Herbs With Fermentation
Joshie and I went to the Pallet Garden last week to see what everyone was up to. Planting garlic, it turned out, along with preparing a small hugelkutur bed. Most everything in that garden had been neglected through the hottest parts of summer and so the few tomatoes and collards that were left were sad at best, but mostly they were just done.
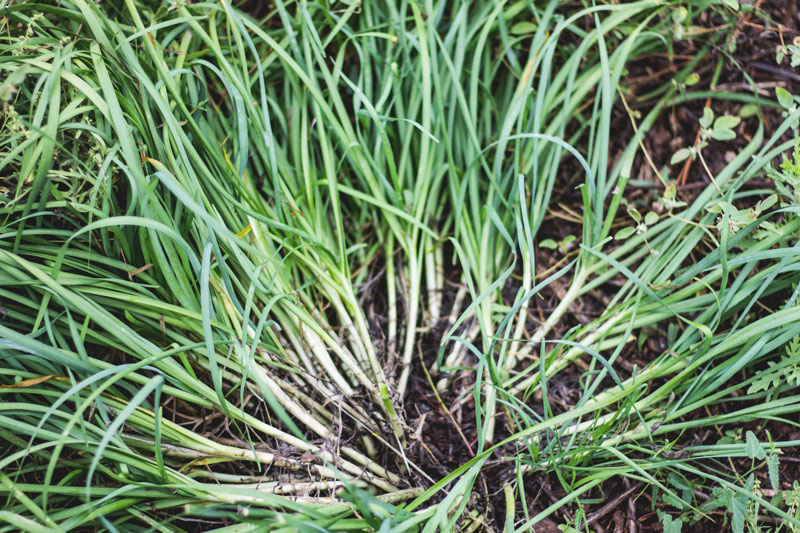
I did find a few exciting perennials in the mix of weeds, however. There was the ever-present stinging nettle, which you can see poking up in the bottom right corner of the top photo. And then there was the Tulsi which I promptly picked for afternoon tea and tipped the seed heads from to see if I could encourage further growth.
And then there were these garlic chives, overly mature but so tasty and begging to be picked.
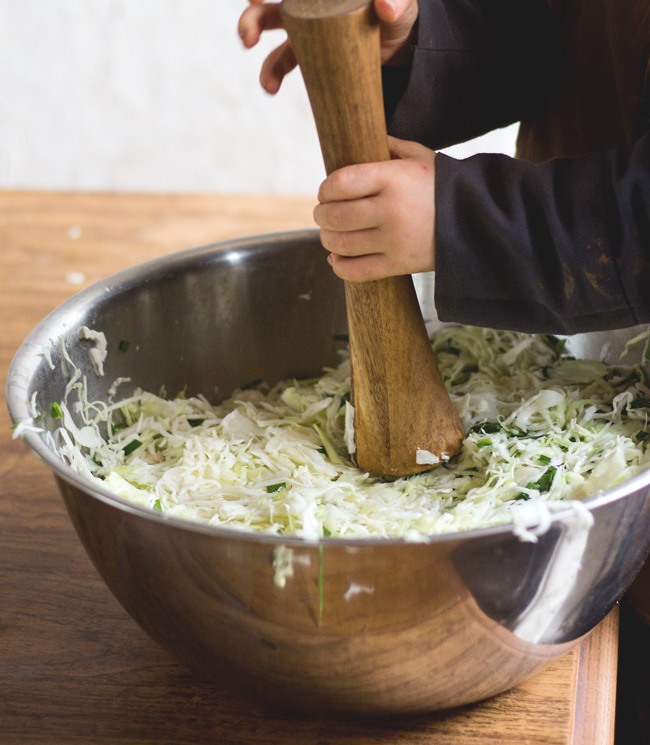
With a few cabbages on the counter and a new fermentation weight I wanted to try out, kraut seemed the most logical use of the bowl we brought in. I do this a lot with herbs – fermenting them with cabbages and other lovely vegetables to preserve them while taking advantage of their yummy flavor.
But you can also ferment herbs all on their own, in their whole leaf and stem form or ground into a pesto-like paste. You can find recipes for these in Traditionally Fermented Foods.
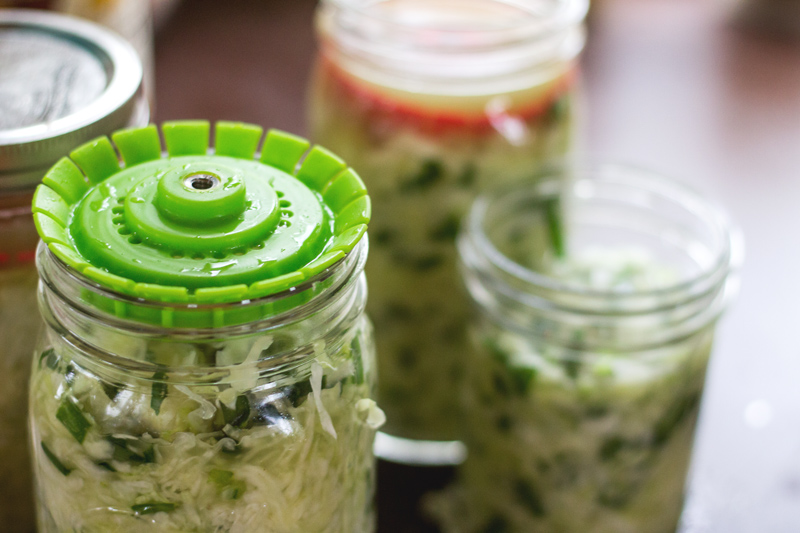
These fermentation weights, The Pickle-Pusher, were sent to me a couple of months ago but with the busyness of late summer gardening and such, I just got around to playing with them recently. The design idea is a great and original one. This green “weight” that you see above is actually not a weight at all, though the way it slides into the jar and fits so snugly is great all on its own.
But there is another aspect to the design. Do you see that hole in the middle of the weight? A stainless steel pin is screwed down into the jar through this and the “weight” held down with a great deal of security. According to their website:
“It will allow you to hold the contents of your fermenting or canning jar below the surface of the brine without bothersome weights. It will perform this task at many times the holding power of traditional weight systems! It also extends storage life by doing the same in the refrigerator once your jar is opened.”
It is really quite clever.
I am always a bit leery of much in the way of metal – even stainless steel – coming into contact with my ferments, though, so I forewent the pin and just used the “weight” element, filling the jar 80% full as I like to do, and allowing the brine to cover the weight by at least half an inch.
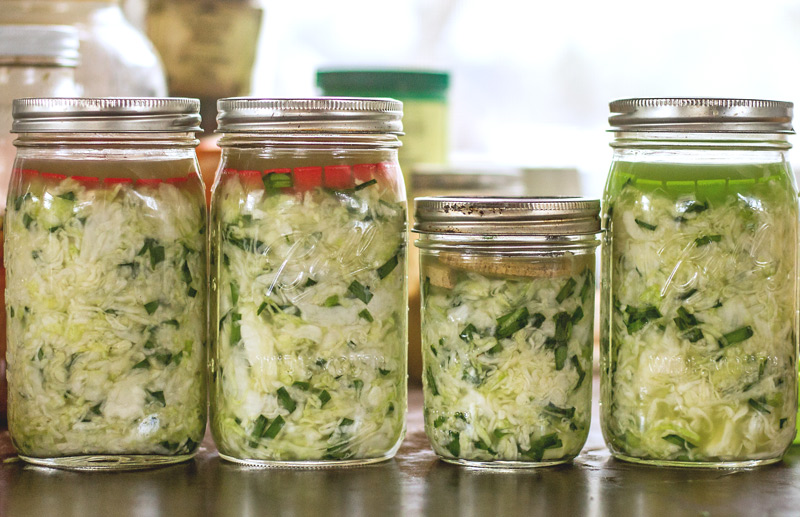
A week later, we have some seriously tasty Garlic Kraut that will only get better as it sits on our counter. It’s been several months since we’ve had kraut, with the influx of cucumbers and okra that have needed pickling. And while I really enjoy those pickles and happily crunch away, I have come to find that a good kraut has my fermentation heart forever.
Which reminds me, I need to water the cabbages and radish babies tonight.
If you are interested in trying out The Pickle Pusher for simple, well-executed home fermentation, check out their website. And if you’d like more methods for fermenting fresh herbs, check out Traditionally Fermented Foods.
Note: I received a complimentary sample of The Pickle Pusher to try out. All thoughts and opinions are my own.
Thanks for this post. I tried making cabbage kraut a few months ago as I had so much in the garden. However, it did not work well at all! I live in a tiny place and I am really unsure about buying specific jars to make kraut but these jars look great… I will have to think about it :). I have lots of chive at the moment so it may also be an idea to add some to the mix :).
Marion – If you have simple quart or pint caning jars, you can ferment in those. You can use purchased weights, but you don’t have to! A cabbage leaf, chunk of root vegetable stem, or thickly sliced apple can all work as a fermentation weight. So you may already have everything you need to get started. 🙂
I hope we hear more about the hugelkutur in the future. I had to look the word up, and I am very interested to see how you did it! Thanks for the constant inspiration!
I have had hugelkultures for 3 years now, I LOVE them. However, I did mine because we have such soggy, wet clay that my plants would either drown, or die because the soil is essentially concrete when it’s dry. We dug up about a foot of clay, added in decaying logs, covered them with clay and then composted horse manure. The garden is AMAZING. I’m not sure how well it will work in dry areas? I’m interested to see how Shannon’s does in dry Texas 🙂
Carrie – We have clay soil as well but probably not nearly as much moisture as you. My understanding is that hugelkultur helps even out soil density and moisture so it is helpful in dryer areas like ours because it provides moisture and nutrients deep down from the rotting wood. This retains and disperses water only as needed.
Our previous hugelkultur bed which is sadly no longer was one of our best performing beds in our very earliest homestead garden. So, thus far, our experience is good. 🙂
Laurl – I hope to share more soon!